| POLICIES AND PROCEDURES
Handlebar Mounts -
eTrex, GPSMap
Unit Hardware • Using
the GPS Unit on Your Handlebars • Overall
Device Operation • The
Map Page
The Route • Navigating
Via the GPS Unit • Limitations
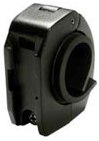
Handlebar Mounts
| 
| |
| |
|
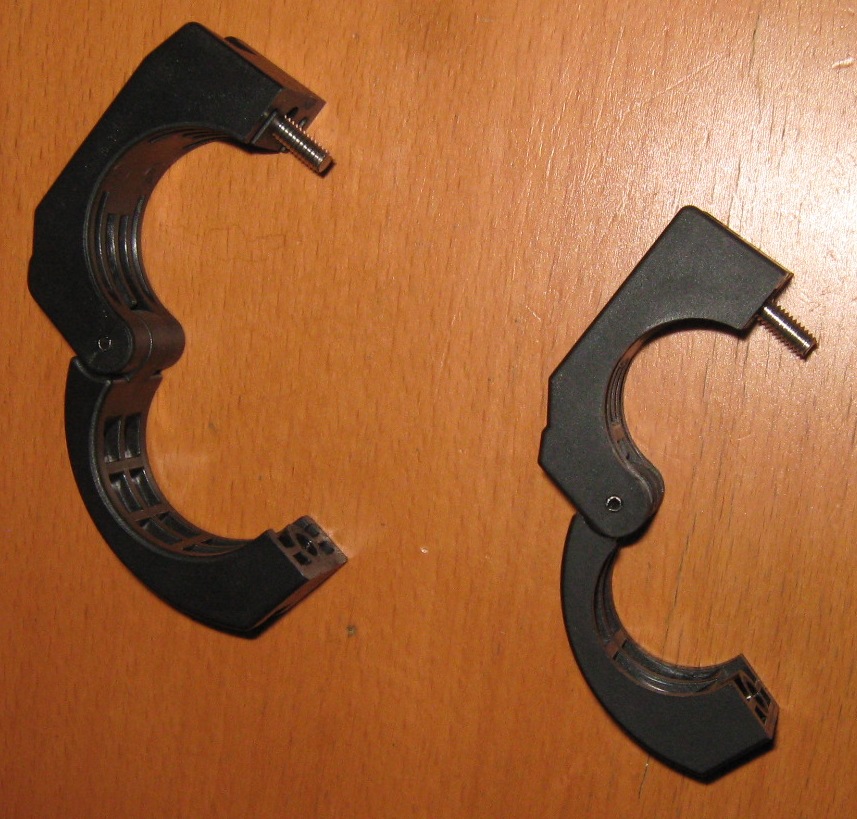
Regular 1 inch (25.4 mm)
diameter width handlebar mount
with rubber spacers |
|
Oversize 1 1/4 inch (31.8 mm)
diameter width handlebar mount
with rubber spacers |
|
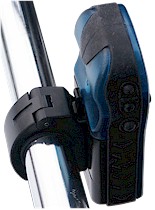
Handlebar mounts open
and ready to be clamped
arouns the handlebar |
The
handlebar mounts are very easy to put on and take off. The only tool required
to install the mount is a #2 Phillips head screwdriver. Measuring Your Handlebar Diameter
Most handlebars are typically 1 inch (25.4mm) diameter although
occasionally, some handlebars are "oversized" at 1 1/4 inches (31.8 mm) diameter.
These oversized handlebars are typically only found on higher end carbon handlebars.
The handlebar mounts are about 7/8" wide and the GPS unit sits about 5/16" above
the handlebars when attached.
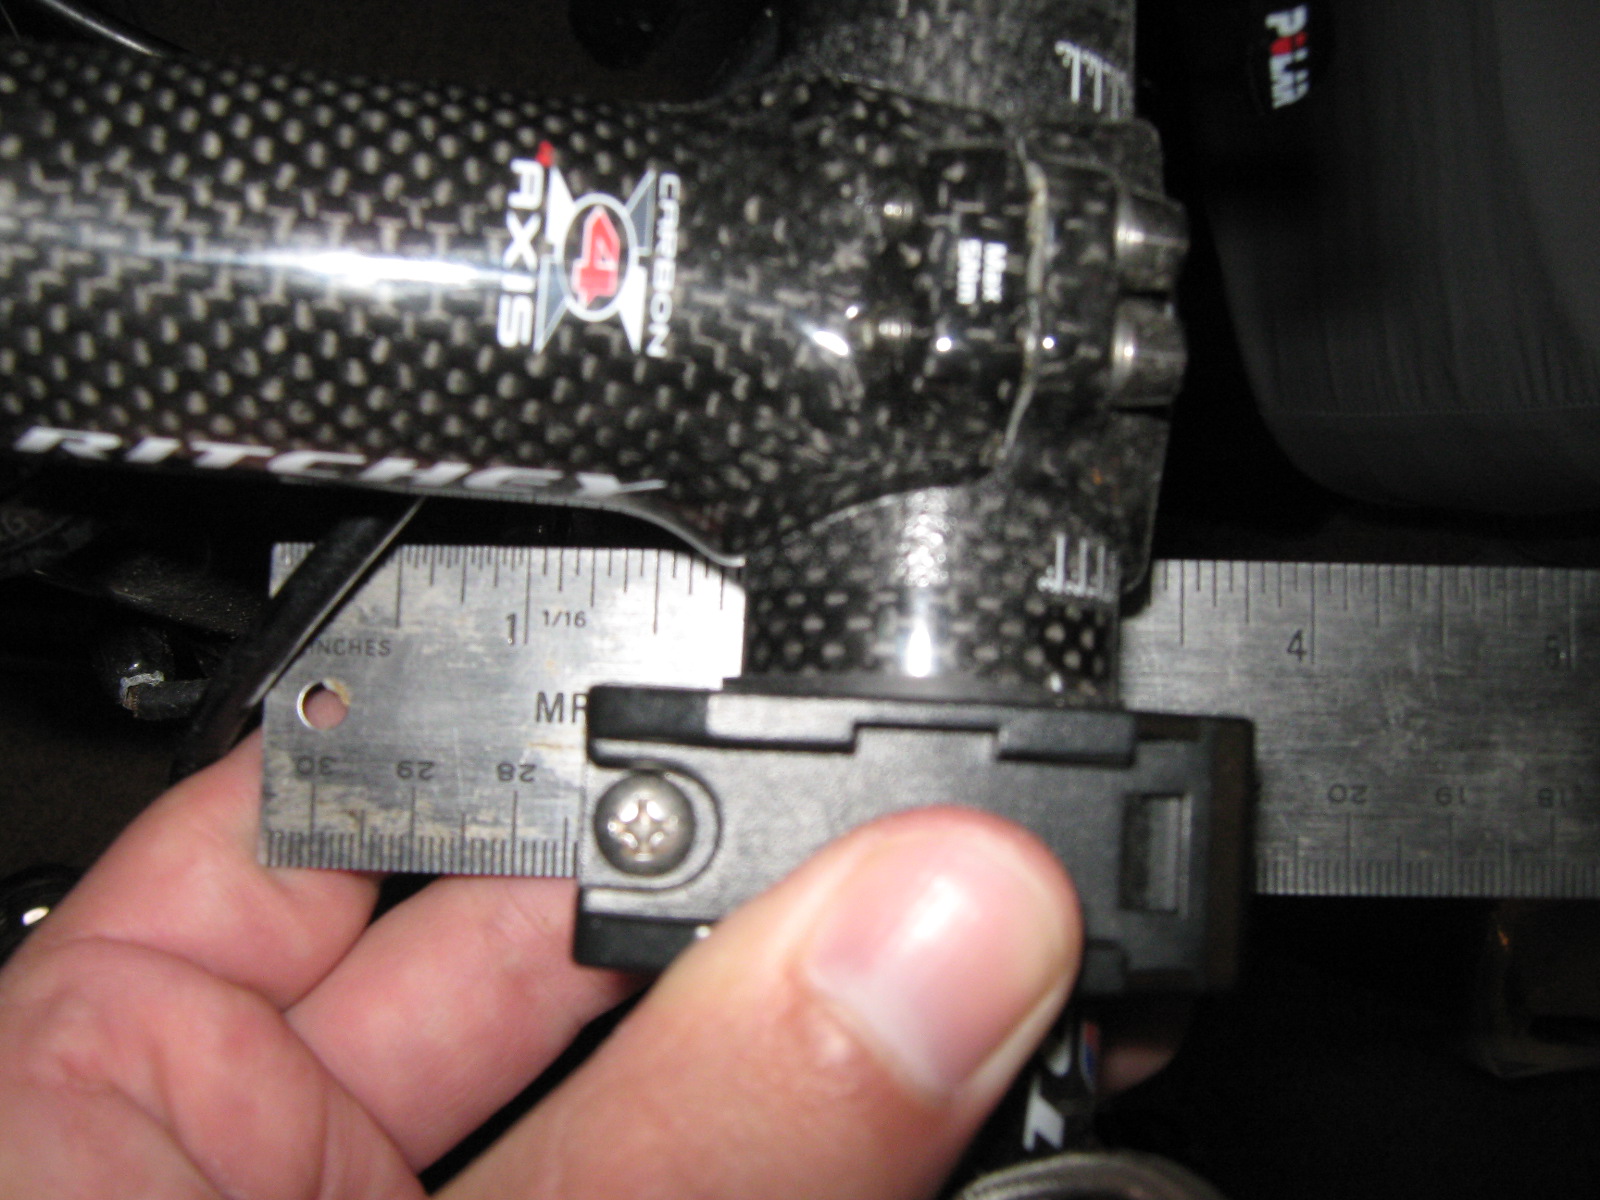
The easiest way we've found to measure
your handlebars is to simply take a ruler and put it behind the handlebars
(see
picture).
You
can
see
pretty
clearly these are the oversize 1 1/4" wide handlebars.
Installing the Mount on Your Handlebars
You may need to readjust some things on your handlebars in order to make
room for the GPS unit and mount and if necessary we strongly recommend doing
this at home rather than at the start of the event because it will be MUCH
easier for you to do it there.
To install the handlebar mount to your handlebars, loosen the screw and
fully open the mount. Then close the mount around your handlebars where you
want to install it and tighten the screw to clamp it secure. You will probably
want to use rubber spacer(s) and/or some electrical tape to ensure the
mount remains tight and doesn't slip. Make sure to install the mount in the
right
direction so that the GPS unit is not mounted upside down - it can be installed
backwards. You can also easily set the angle at which you view the GPS unit
while riding by just adjusting the angle the mount in installed on your handlebars.
In order to remove the handlebar mount from your handlebars simply unscrew
the mount and remove it and any rubber spacers and/or electrical tape used
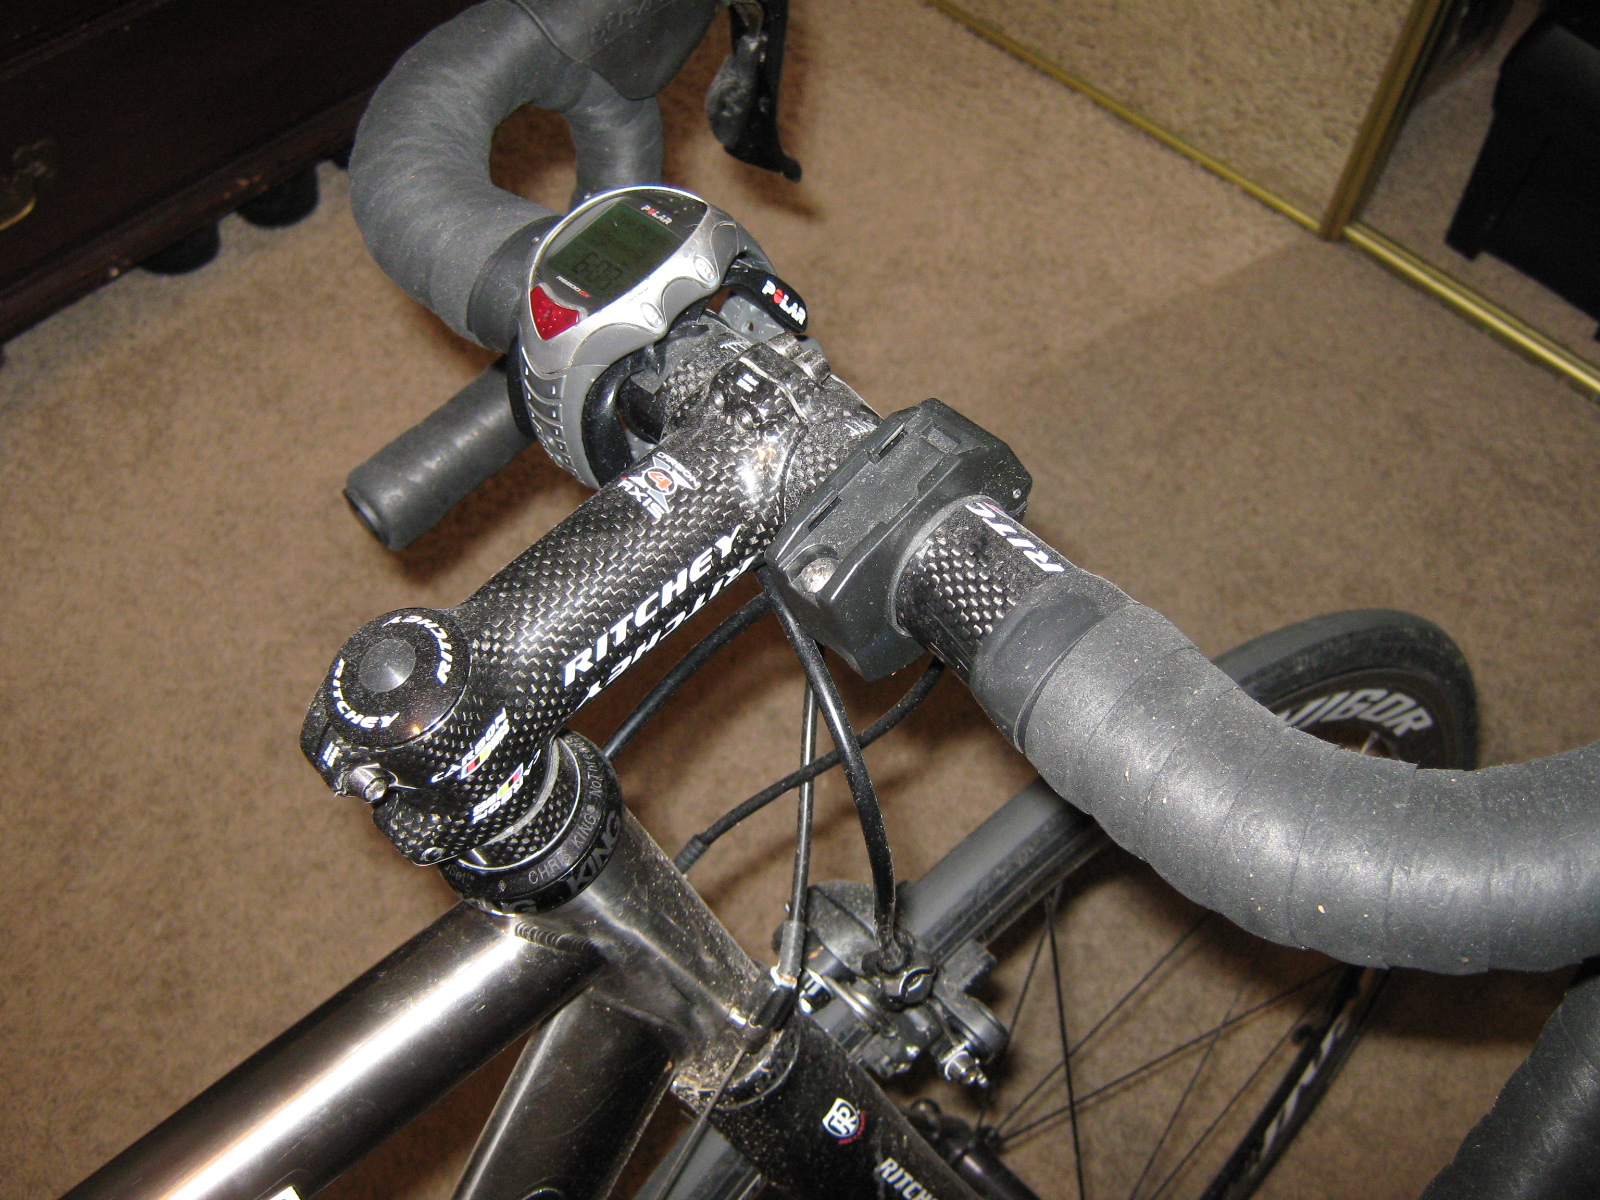
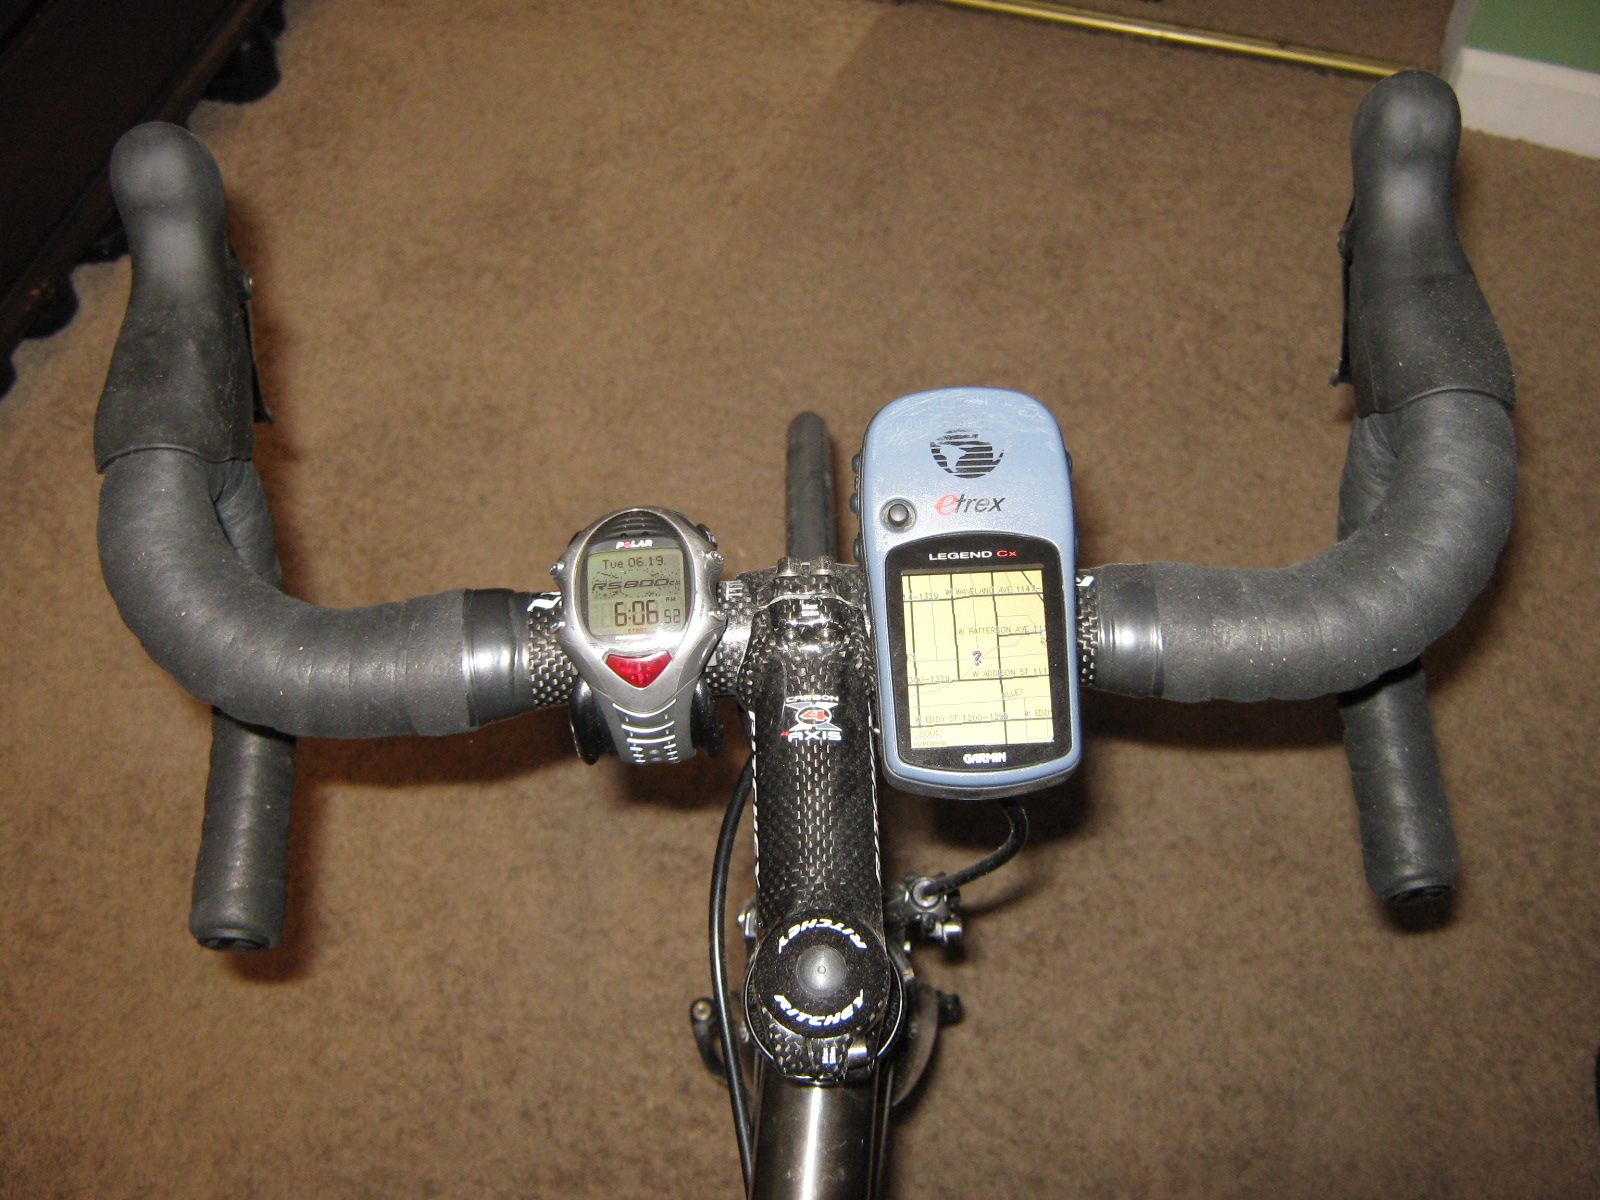
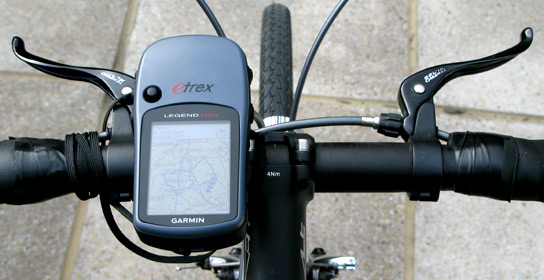
to mount it. Here are pictures of the mount installed on handlebars and the GPS unit
itself attached on the right side.
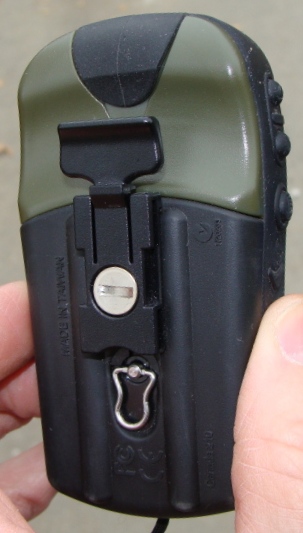
Attaching and Removing the GPS Unit from the Handlebar Mount
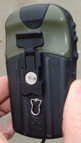 To
attach the GPS unit to the handlebar mount, line up the handlebar
mount and the mount on the back of the GPS and slide the GPS down
onto the handlebar mount until it locks in place. To remove the GPS
unit from the handlebar mount press up on the release tab on the
back of the GPS unit and slide the GPS out of the handlebar mount.
|
|